


Perxel Image Optimizer
An open-source plugin that converts WordPress images to WebP on your own server, with no API key or third-party service. It handles bulk conversion on shared hosting and is easy to remove when you no longer need it.
September 22, 2026
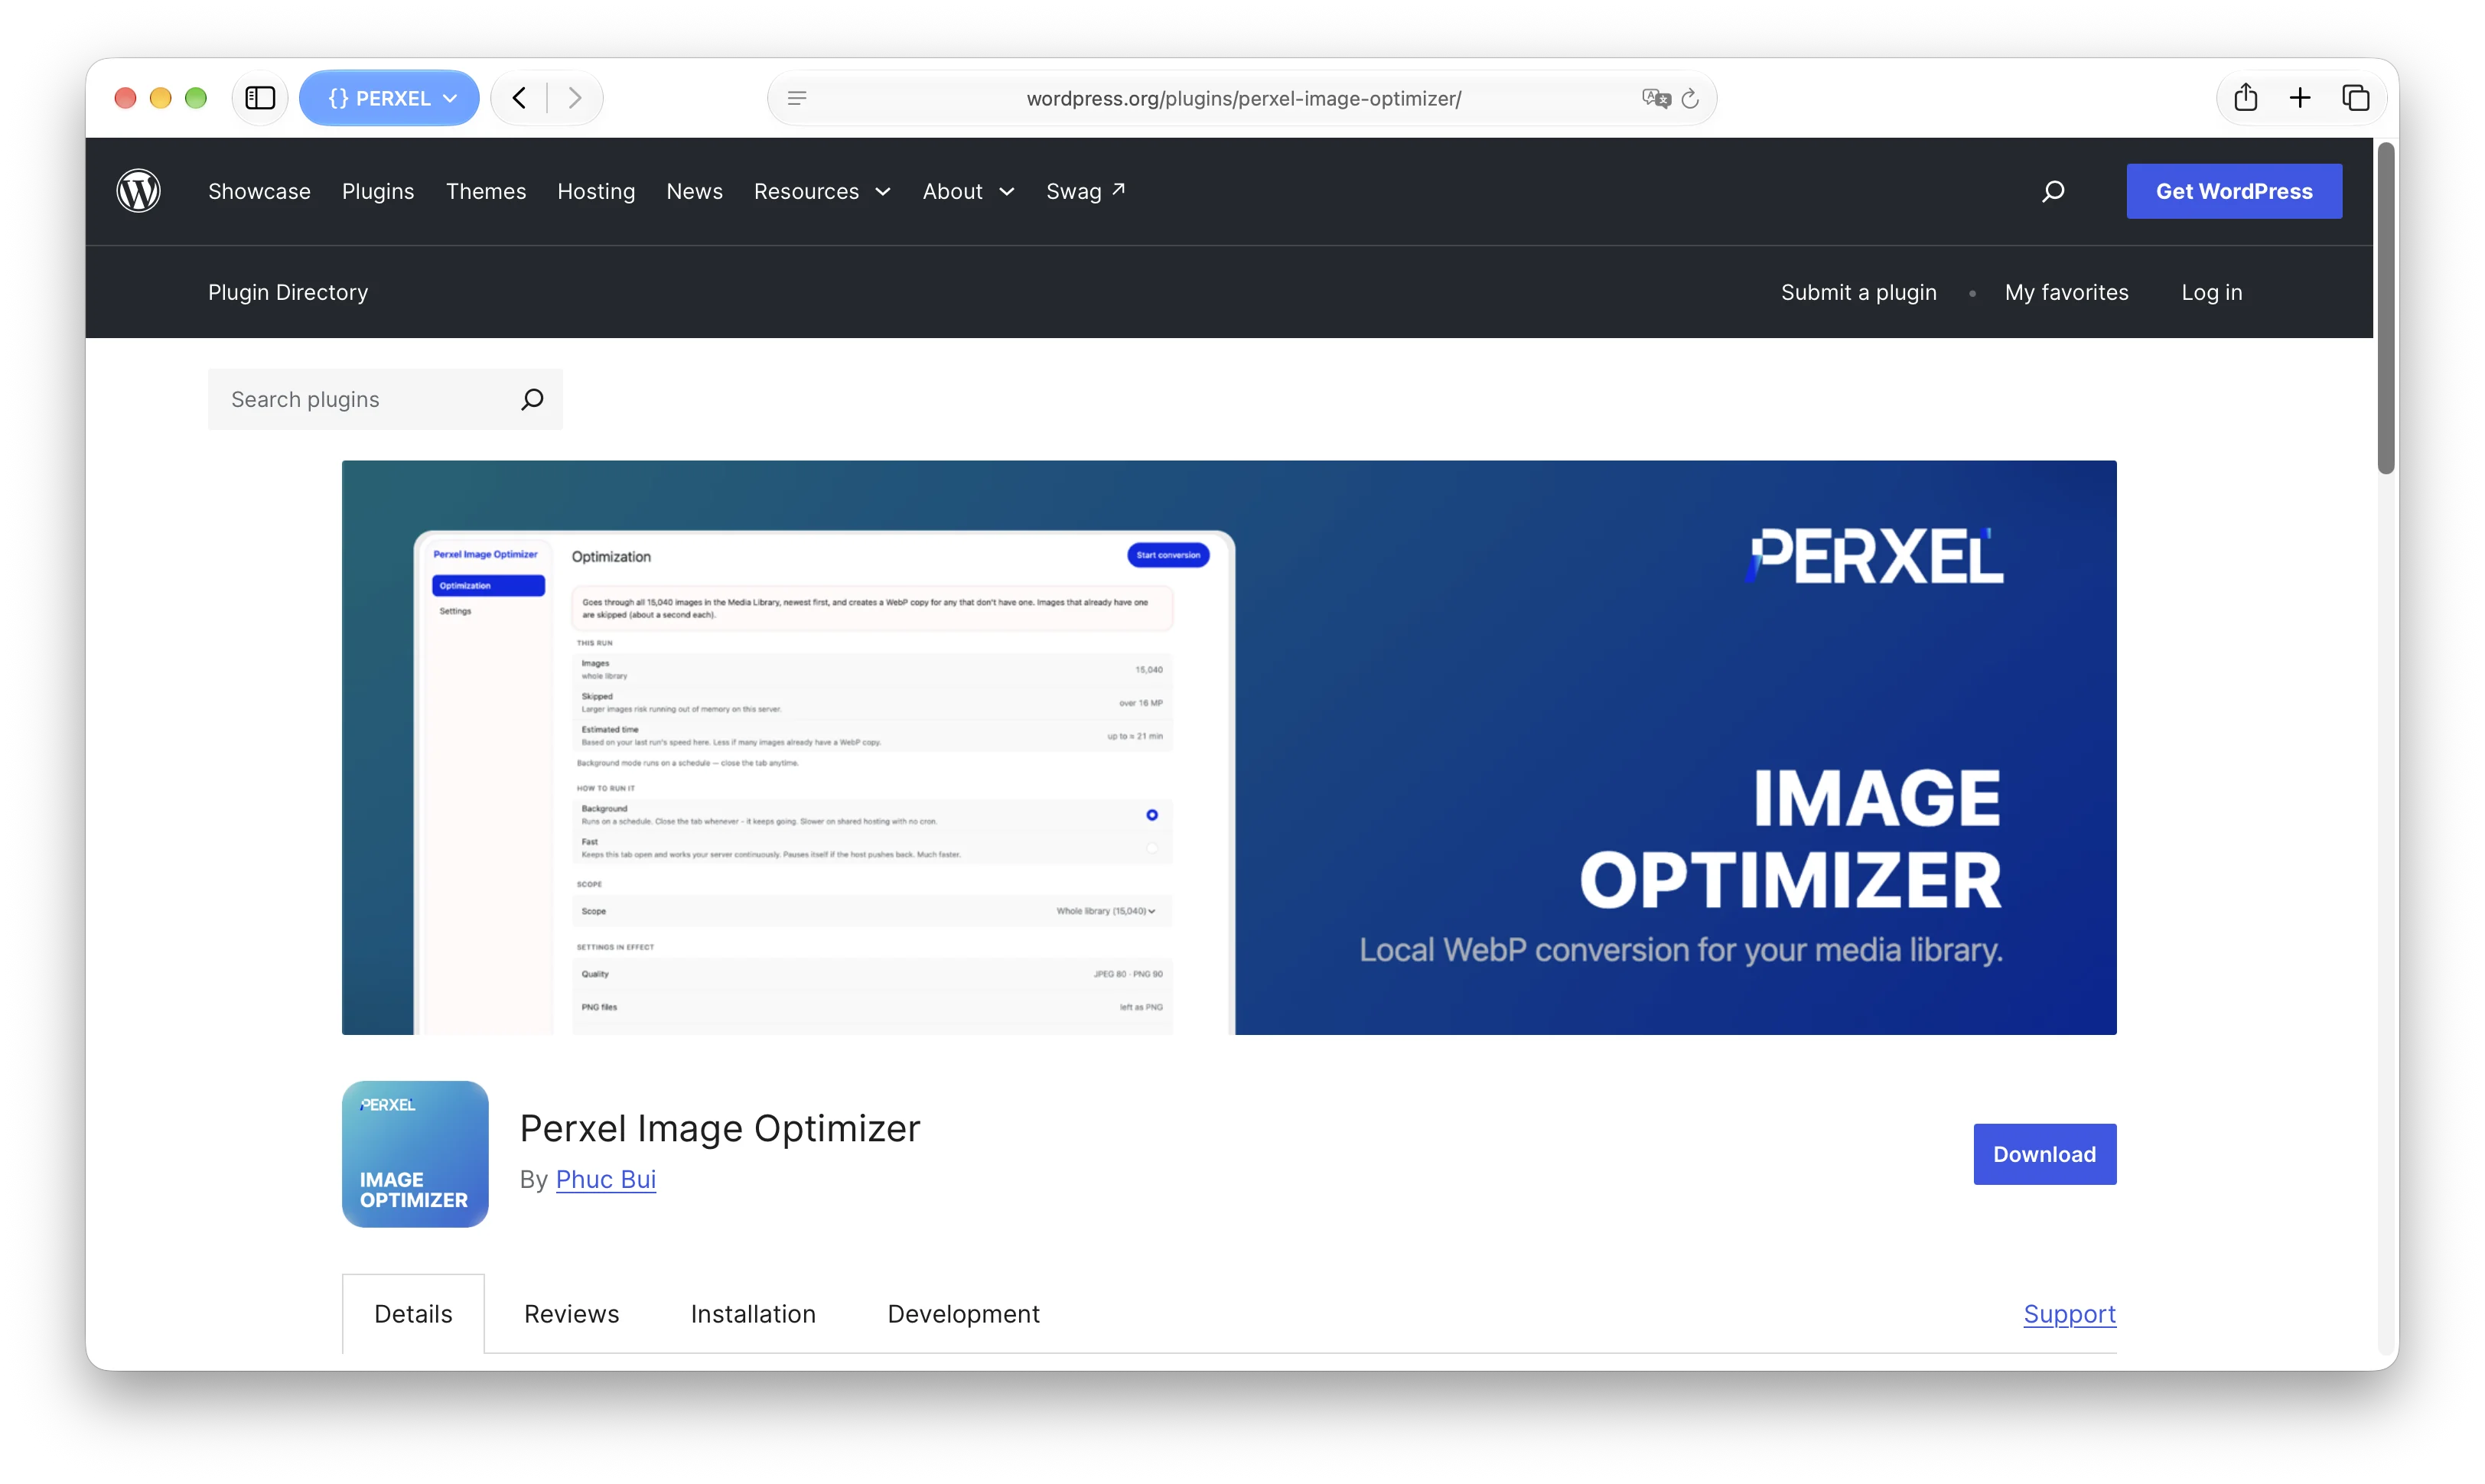
Perxel Image Optimizer is an open-source plugin that converts images in the WordPress library to WebP. The whole conversion runs on the site's own server, with no CDN, API key or account. Your original images stay on your hosting.
Background
Converting images to WebP is close to a must when optimising Core Web Vitals. But many popular plugins, such as ShortPixel and Imagify, send your images to their servers to compress them, require an account and cap the size or number of free images per month. For a site with a large media library, that is a recurring fee and one more outside system to depend on.
Perxel Image Optimizer does the same job more simply: lightweight, free, converting on your server and working on shared hosting.
Convert WordPress images to WebP on the server
The plugin uses the WP_Image_Editor (GD or Imagick) already on the server to create a .webp file next to the original, for example image.jpg becomes image.jpg.webp. The original is never edited or replaced.
To serve WebP to visitors, the plugin picks the method that suits the server:
- Apache and LiteSpeed. A plugin-managed
.htaccessblock returns the.webpfile when the browser sends anAccept: image/webpheader. The page HTML doesn't change. - Nginx. When
.htaccesscan't be written, the plugin changes<img>tags to<picture>when the page renders.
This option is off by default. You can turn it on or off in Settings. Turn it off and everyone gets the original images again, with no files deleted.
Bulk conversion on shared hosting
Before running, the Optimization screen shows what is about to happen: the number of images in the library, the number skipped for being too large, the estimated time and the settings in use. You pick the scope (the whole library or a single month) and one of two run modes.
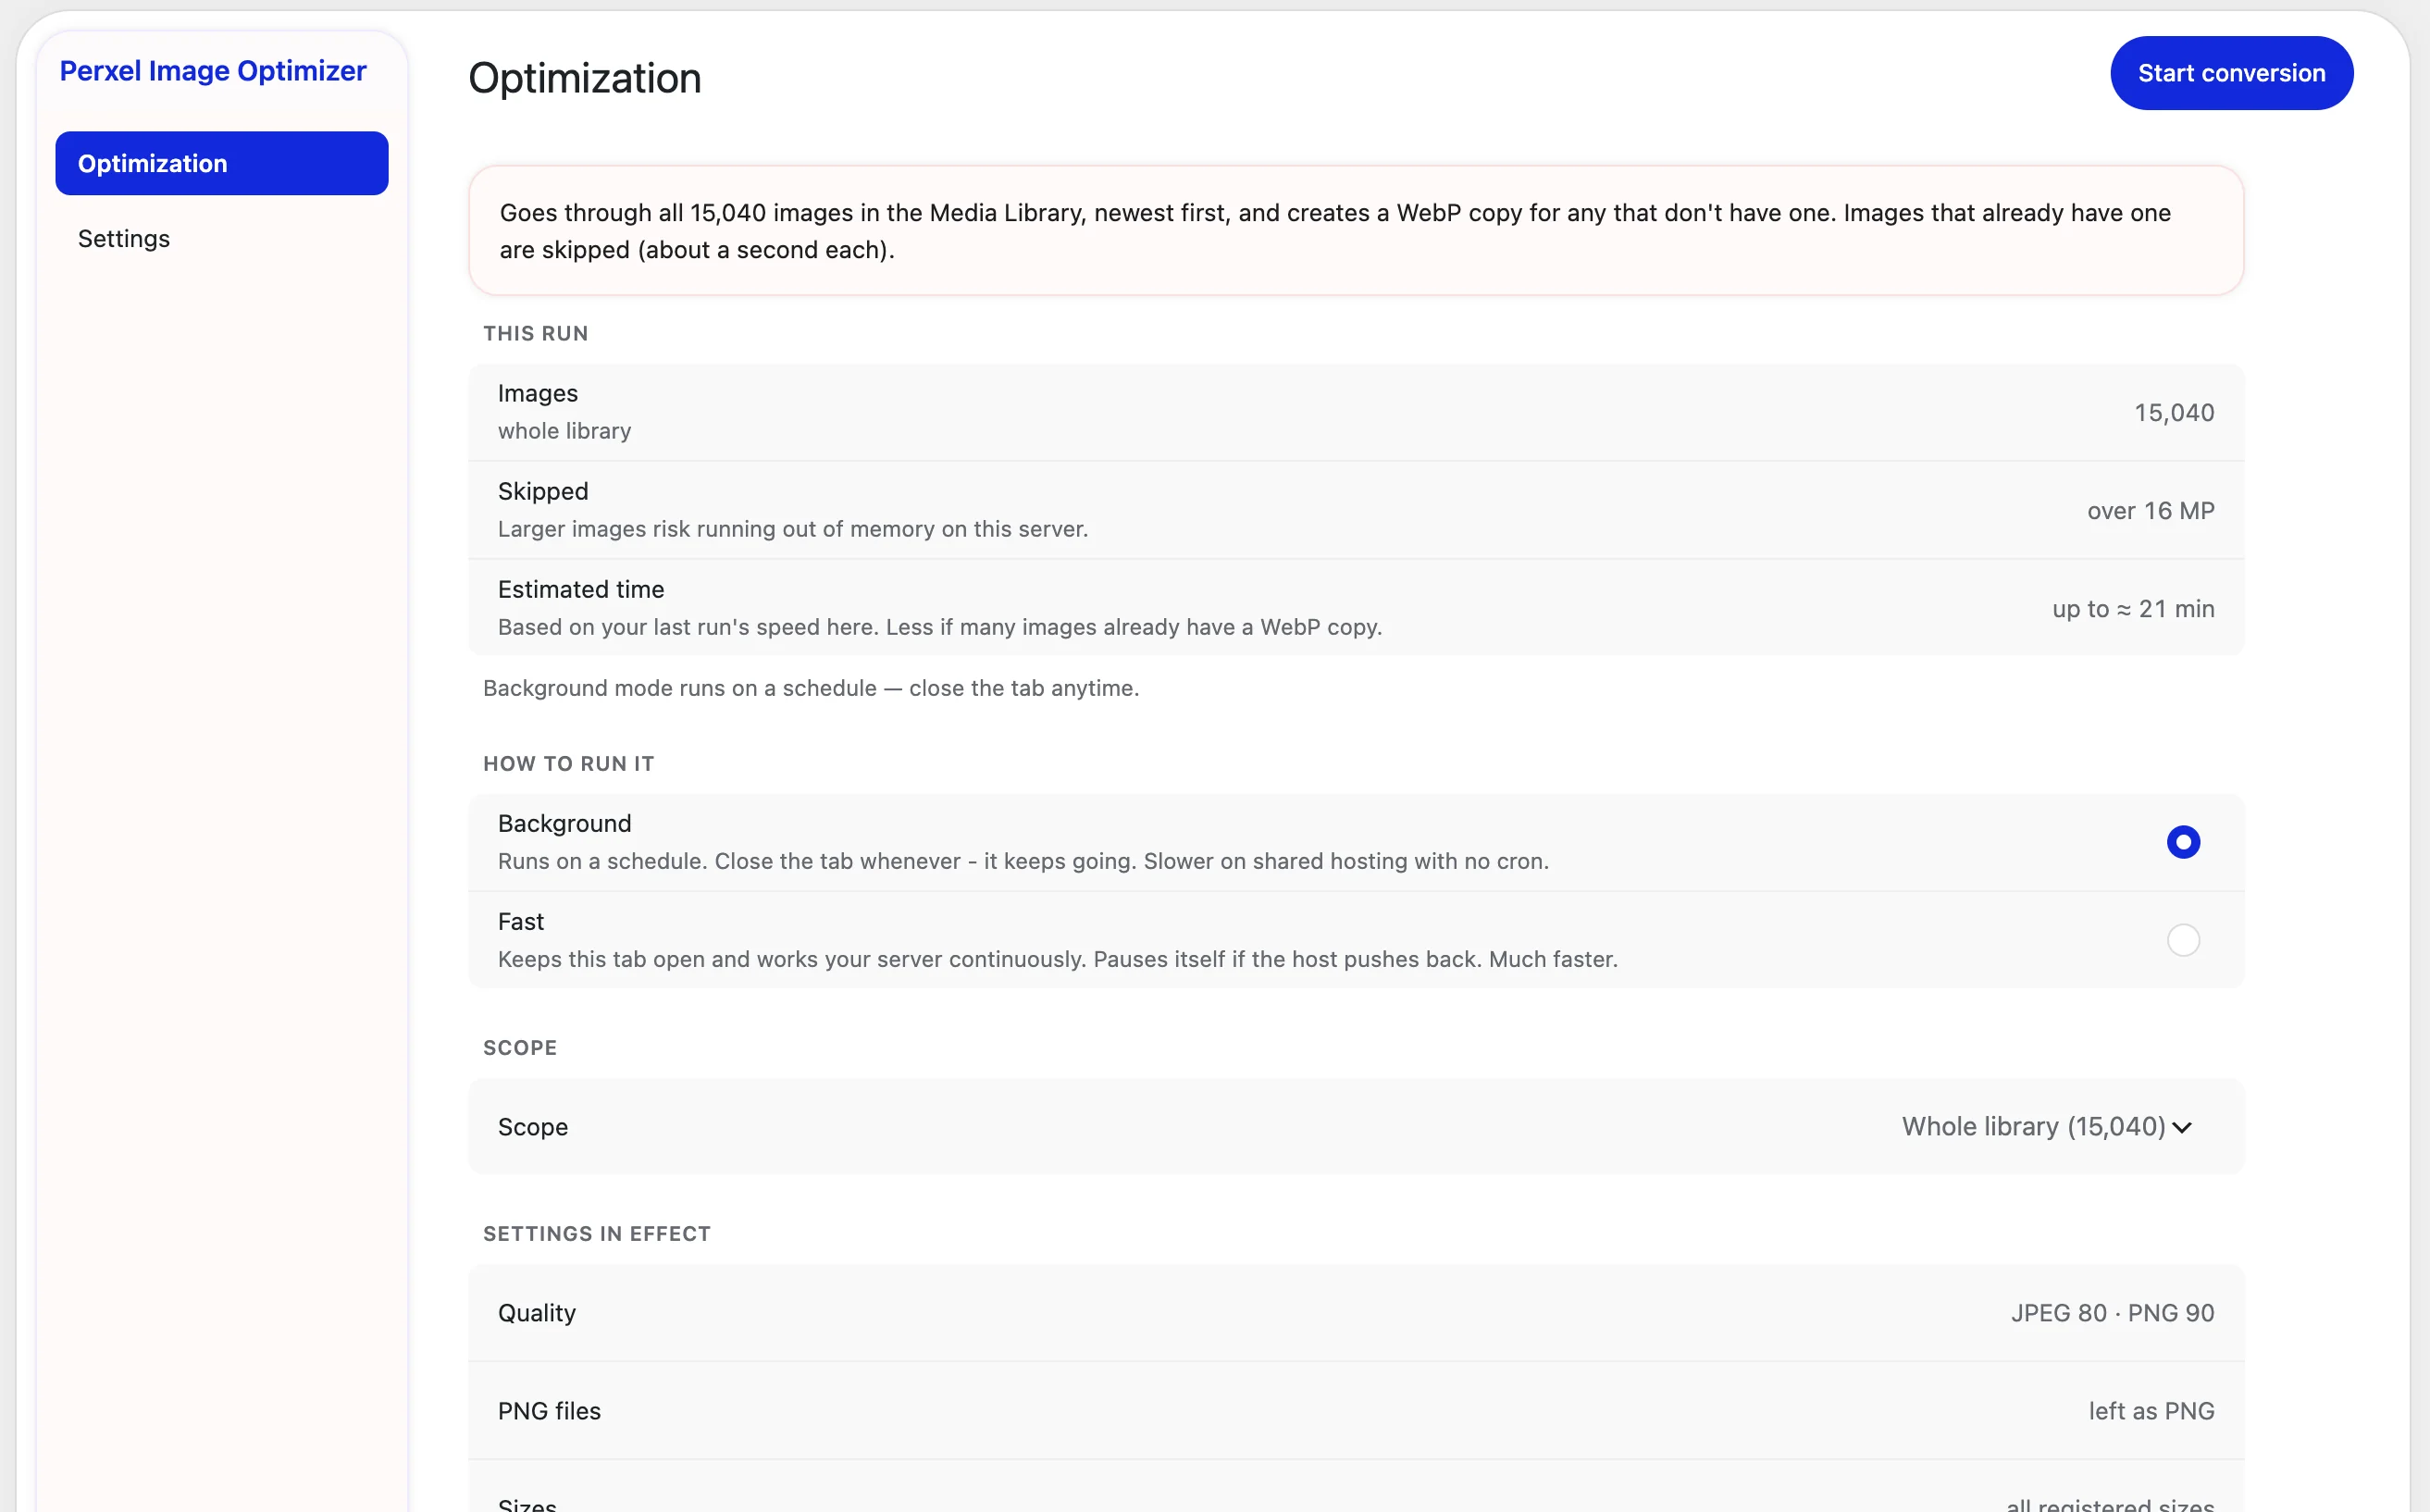
The Optimization screen: a library of 15,040 images, estimated at about 21 minutes at most.
- Background. Runs in the background with Action Scheduler, going month by month from newest to oldest and skipping images that already have a
.webp. You can close the tab and it carries on. There are pause, resume and cancel buttons. - Fast. For shared hosting without reliable cron. The open admin tab drives the conversion, so the server runs continuously and much faster. If the host starts to struggle, the plugin pauses itself and resumes after a while. While it runs you can change the speed between Gentle, Balanced and Turbo.
Stopping or cancelling midway doesn't lose the files already converted. Next time the plugin carries on from where it stopped. You can also turn on an email report when it finishes, with the number of images converted, bandwidth saved, extra disk space used and any errors.
Compression quality and image sizes
The Settings page is split into Conversion, Serving and Notifications.
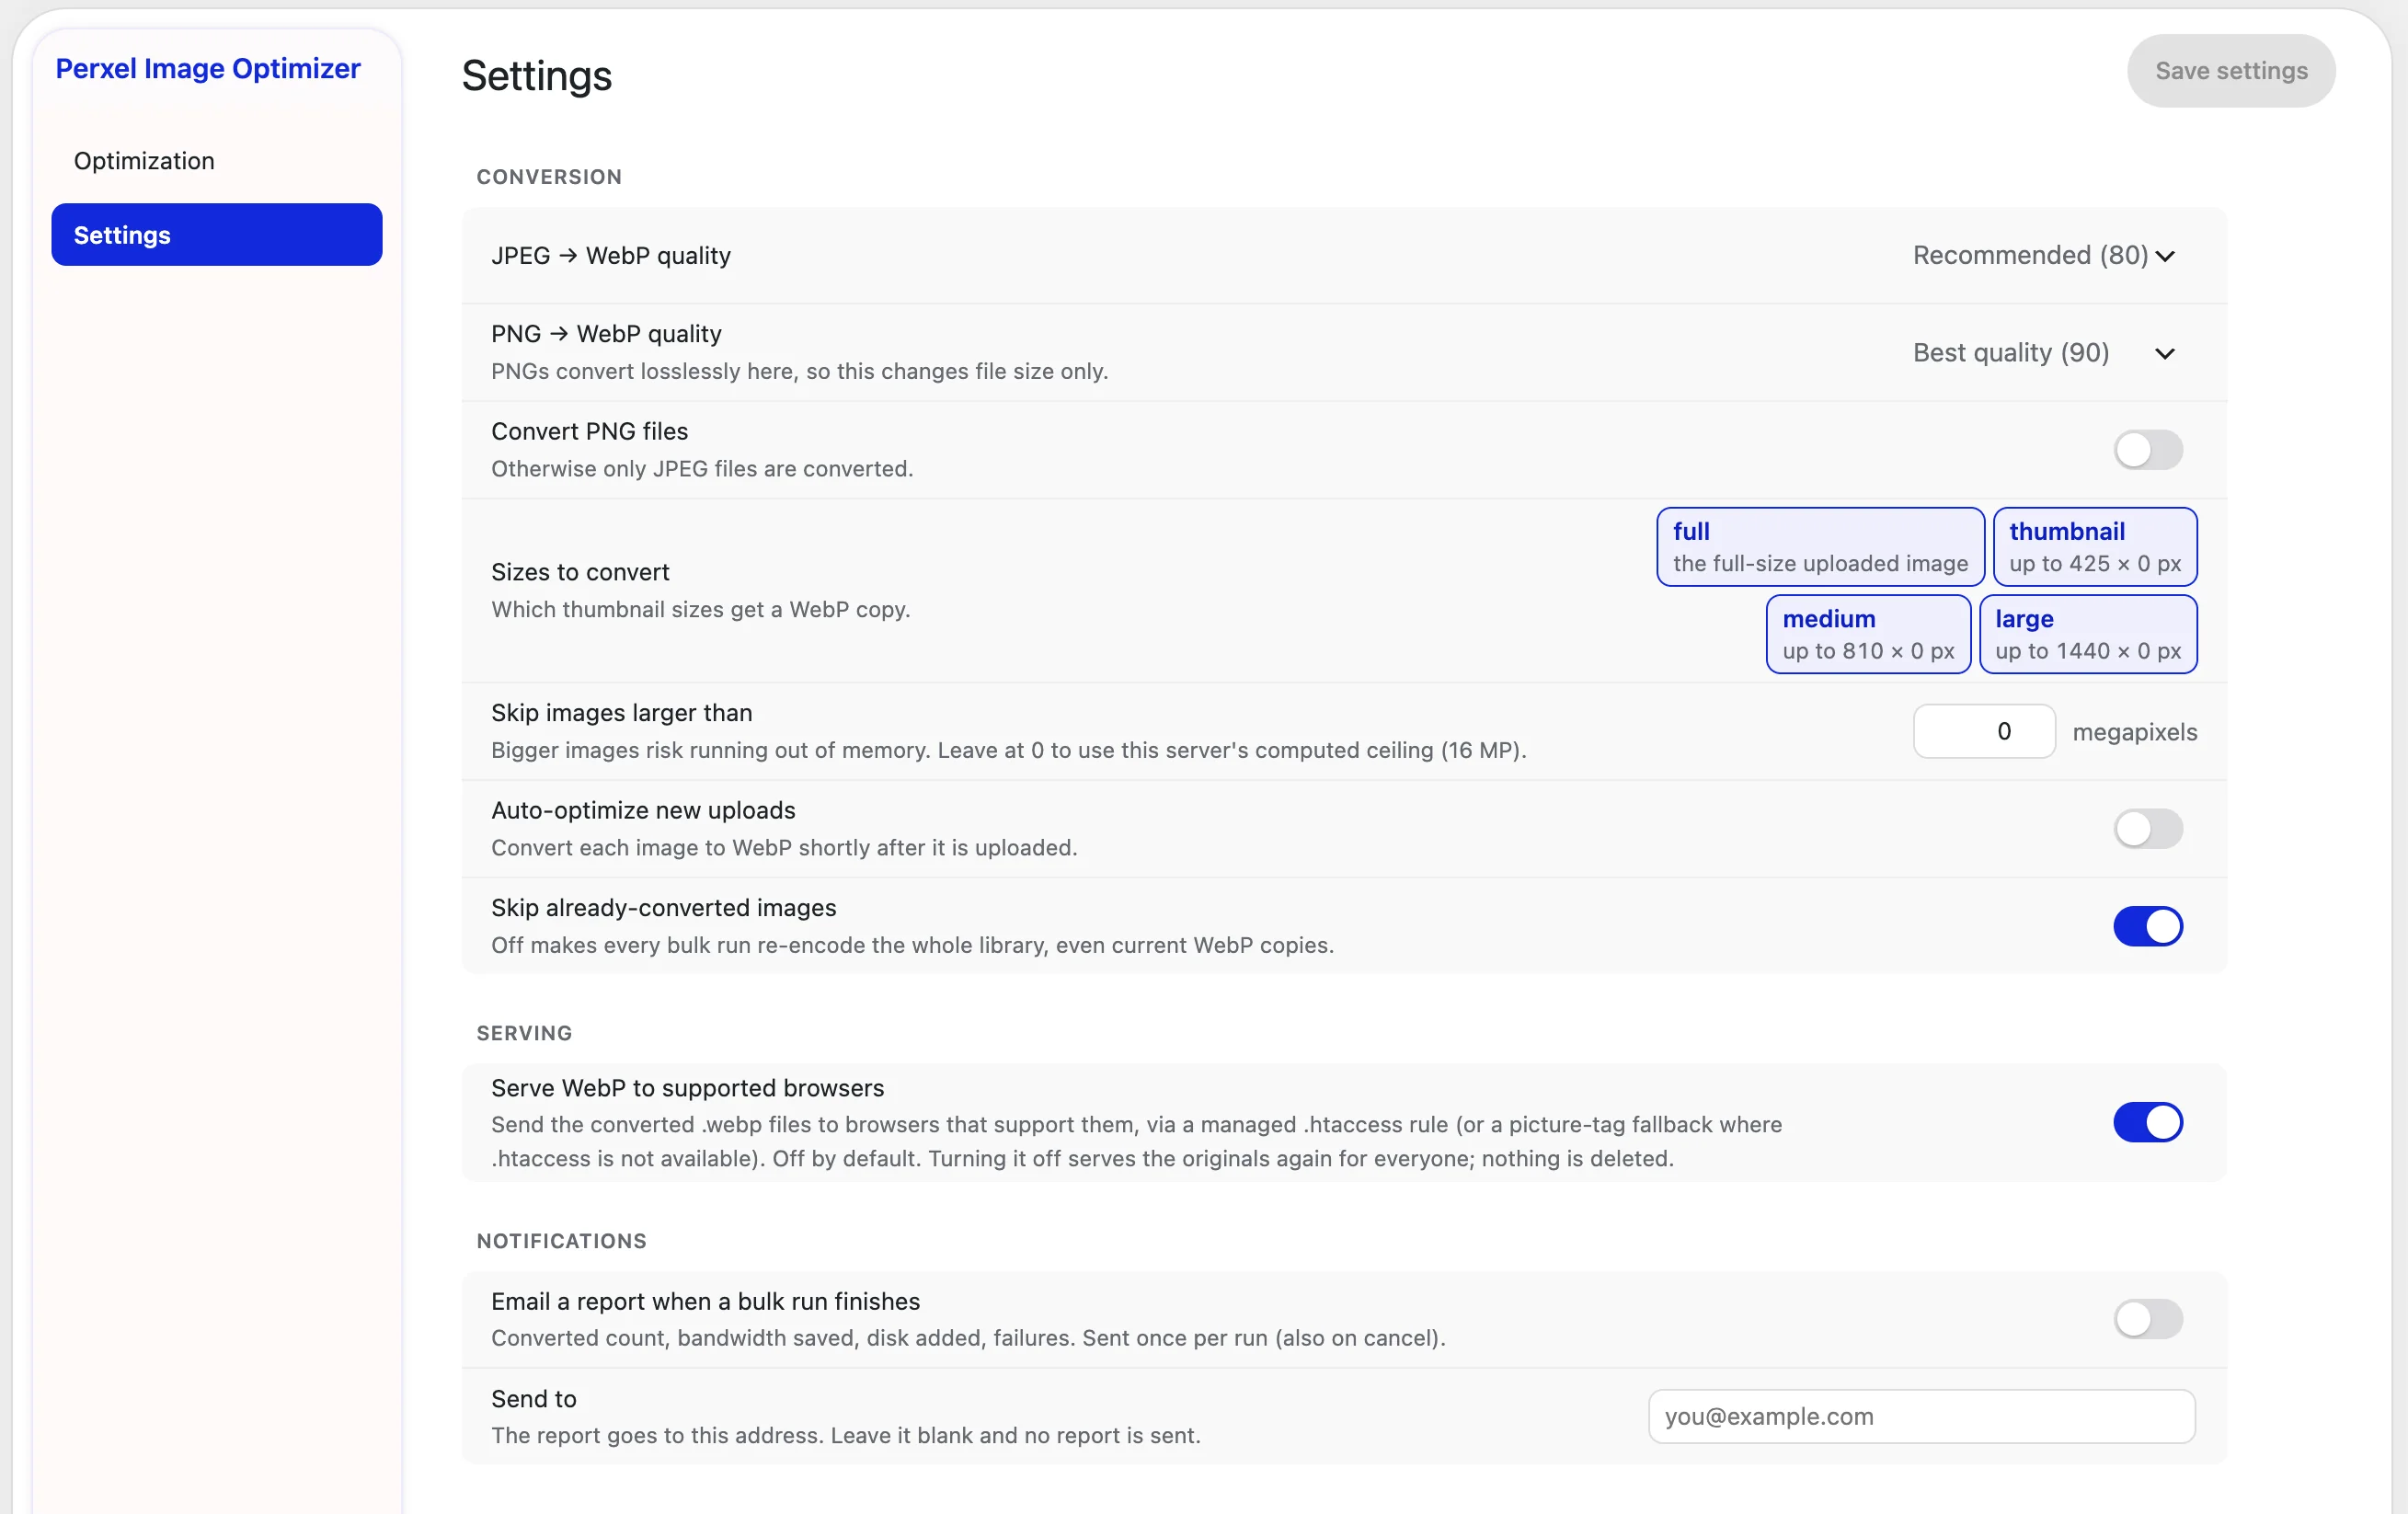
The Settings screen: compression quality, sizes to convert, new uploads and notification email.
- Quality. JPEG defaults to 80 and PNG to 90. PNG is converted losslessly, so this setting only changes file size.
- Image sizes. Choose each size separately (full, thumbnail, medium, large and sizes added by the theme) so you don't create
.webpfiles you won't use. - PNG. By default only JPEG is converted. Turn it on if you also want PNG converted.
- Megapixel limit. Images above this threshold are skipped to avoid running out of memory. Leave it at 0 and the plugin uses a threshold based on the server's configuration (for example 16 MP).
- New uploads. Turn on automatic optimisation so images are converted to WebP right after upload.
Convert or remove WebP for a single image
In the Media Library, each image has Convert, Reconvert and Remove buttons, in both the list view and the detail panel. To convert one image again after changing the quality, or remove the WebP for just that image, you don't have to run the whole library again.
Uninstalling and removing WebP files
Settings has a section that deletes every .webp file created and the .htaccess block added, returning the site to how it was in one step. When you delete the plugin, the options, post meta and .htaccess block are cleaned up. The .webp files are kept, so run the removal first if you want them gone too.
Install and requirements
The plugin is on WordPress.org. Go to Plugins, choose Add New, search for "Perxel Image Optimizer", activate it and open Media → Optimization.
- PHP 7.4 or later, WordPress 6.5 or later.
- GD or Imagick with WebP support. If it is missing, the admin stops and says so clearly.
- Apache or LiteSpeed with a writable
.htaccessso the HTML doesn't need to change. Other environments use<picture>.
The source is public on GitHub, free and with no ads. The plugin is built on WP Plugin Toolkit and often goes with WordPress custom theme projects at Perxel.
Footnotes
Want a quote?
Get in touch with Perxel today.